
An AI inpainting tool rebuilds a selected part of an image using information from the surrounding scene and, in some tools, a written instruction. That sounds simple. Real photographs make it harder. A clean blue sky is easy to reconstruct; a bicycle wheel crossing patterned pavement is not. Hair, hands, repeated tiles, reflections, text, and shadows expose the difference between a one-click demo and a useful editing workflow.
This comparison focuses on ordinary browser-based jobs: removing a passerby, cleaning a product image, replacing a small object, and repairing the background. It does not declare one universal winner. Instead, it explains which editor fits a particular kind of user and what to inspect before downloading the result. Features and free limits change, so verify current terms on each linked product page before starting a large project.
The shortlist
| Tool | Best fit | Prompted replacement | Main trade-off |
|---|---|---|---|
| InpaintingAI | Fast, focused browser edits | Yes | Account and credits required for AI generation |
| Adobe Firefly | Creative Cloud workflows | Yes | More product surface than a quick eraser |
| Canva Magic Eraser | Edits inside social designs | Removal focus | Best when you already work in Canva |
| Cleanup.pictures | Minimal object removal | No prompt-first workflow | Less control over what replaces the area |
| Photoroom Retouch | Product and marketplace photos | Platform-dependent | Add mode differs between web and mobile |
How to compare an inpainting tool
Use the same original file for every editor. Make one generous selection that includes the whole object plus a narrow ring of surrounding pixels, then repeat with a tighter mask. A tool that only looks good with a carefully cropped marketing example is not necessarily the right tool for a phone photo. We score the workflow against five practical questions:
- Edge repair: Does it remove every piece of the object without eating into the subject?
- Texture continuity: Do tiles, boards, waves, or fabric continue in a believable direction?
- Light and shadow: Does the repaired area match the scene rather than becoming a soft patch?
- Selection control: Can you adjust brush size, erase a mistake, undo, and try again?
- Exit quality: Can you compare the original and download an appropriate resolution?
01
InpaintingAI: the focused, plain-language route
InpaintingAI is designed around one sequence: upload, paint, describe, compare. The current editor provides separate brush and eraser modes, a size control, a 50-step undo history, clear selection, quick prompt choices, and a draggable Before/After view. Leaving the prompt empty means “remove this and fill the space naturally,” while a description turns the same selection into a replacement task.
The strongest fit is someone who does not want to learn layers or search through a general design suite. It is also useful for testing an inpainting idea because the painted mask remains visible and the prompt appears beside the marked area. AI generation requires an account and uses credits based on the billed output megapixels for each marked edit. The service routes each edit to a supported model; users should still inspect every result because complex texture, text, faces, and hidden background detail can require a tighter mask or another attempt.
Try InpaintingAI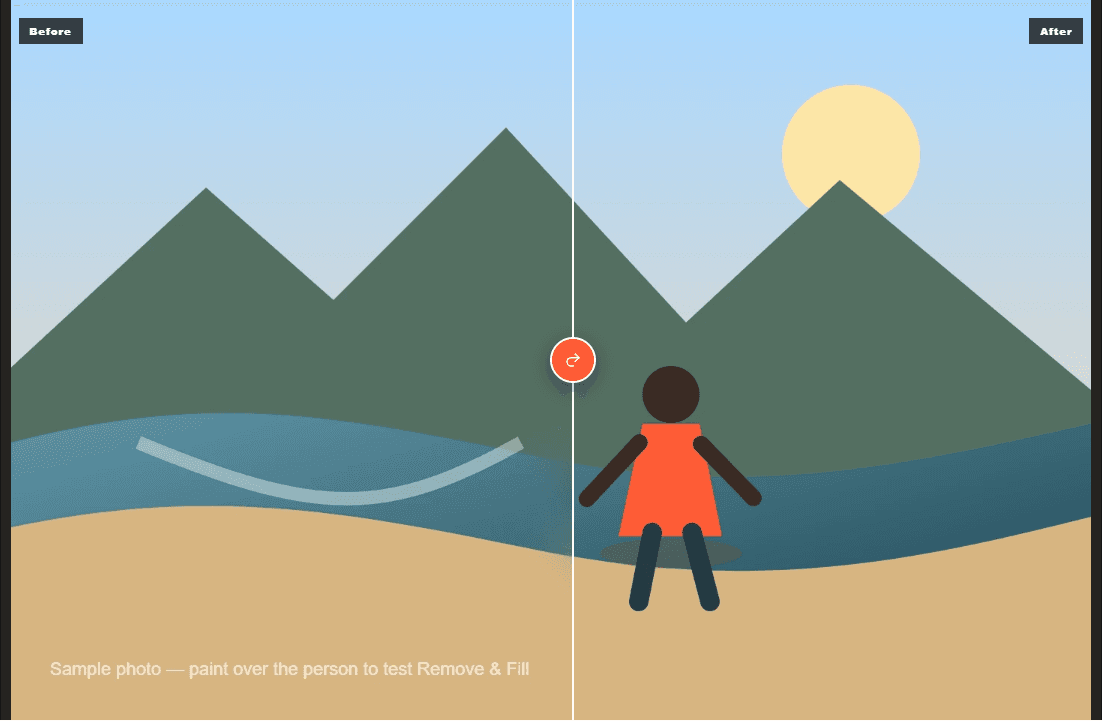
02
Adobe Firefly: best for a broader creative workflow
Adobe positions Generative Fill as a way to add, remove, or replace visual elements with text instructions. It belongs to a larger family of Firefly and Creative Cloud workflows, which is its advantage when an edit will continue into layout, compositing, typography, or professional retouching. Users who already understand selections and layers can move from a generated patch into detailed correction without changing tools.
That breadth can be unnecessary for a single tourist in the background. Compare Firefly when you expect several rounds of art direction or need the surrounding Adobe workflow; choose a smaller editor when speed and a short learning path matter more. Check Adobe’s current generative-credit and export rules before planning repeated work.
Official Generative Fill page03
Canva Magic Eraser: best when the photo lives inside a design
Magic Eraser is most compelling when object removal is one step in a Canva design: a social post, presentation, flyer, or listing image. The user brushes over the unwanted area and continues working with Canva’s familiar layout tools. That integrated flow reduces export-and-reimport friction.
For a pure inpainting test, ask whether the tool exposes enough control for the troublesome edge and whether the result keeps the original resolution you need. A design-suite eraser can be convenient without being the most transparent way to compare multiple generated alternatives. It is a practical choice for existing Canva users, not automatically the best choice for every photograph.
Official Magic Eraser page04
Cleanup.pictures: best for a minimal remove-only action
Cleanup.pictures strips the task down to upload, brush, and removal. That makes it easy to recommend when the user already knows the object should disappear and does not need to describe a replacement. A minimal editor is particularly useful for dust, cables, isolated people, and small background distractions.
The trade-off is intention. When a selected area could reasonably become several things, a prompt gives the model more direction. A removal-first tool has less room to say “continue the wooden shelf” or “replace this cup with a small plant.” Test the free output resolution and inspect patterned backgrounds closely.
Official Cleanup.pictures site05
Photoroom Retouch: best for commerce-oriented photos
Photoroom’s official Retouch documentation describes a brush-based erase workflow that redraws the background. Its wider product is explicitly oriented toward product photography, backgrounds, marketplace resizing, and repeatable commerce visuals. That makes it a strong candidate for sellers who need more than a single cleanup.
Platform differences matter. Photoroom documents Retouch on web, iOS, and Android, while its Add mode and prompt availability can differ by platform. Confirm that the device you intend to use supports the exact remove-or-replace workflow you need. Photoroom’s own help guidance also notes that difficult objects may require painting over them more than once, which is realistic advice for any model.
Official Retouch documentationHow to choose without overthinking it
Start with the final job, not the brand. For a single distraction and no intended replacement, choose the shortest remove-only workflow. For a specific new object, choose a tool with a prompt and clear retry path. For social layouts, use the editor already holding the design. For product catalogs, favor repeatability, export sizes, and batch-oriented features. For professional composites, choose the environment that keeps selections and subsequent corrections editable.
Then run one difficult test before paying. Zoom into the repaired boundary. Look for duplicated texture, bent straight lines, repeated objects, color halos, and shadows that stop abruptly. Move the comparison slider several times. A result that reads well at thumbnail size may fail on a marketplace detail page or print.
The practical verdict
There is no meaningful “best” inpainting tool without a photograph and an intended use. InpaintingAI offers the most direct plain-language workflow in this shortlist; Firefly offers the broadest creative continuation; Canva is convenient inside an existing design; Cleanup.pictures is deliberately minimal; and Photoroom connects cleanup to commerce production. Keep two tools bookmarked. A second model or a slightly different mask often beats spending ten minutes fighting one result.





