
InpaintingAI is a browser-based local photo editor. Instead of asking AI to redraw the whole image, you mark only the area that should change. The editor sends each mark as a separate task, which helps protect the subject, composition, and details outside the selected area.
What InpaintingAI is designed to do
Use it when the photograph is already good but one detail is wrong: a passer-by is in the background, an object should disappear, a damaged patch needs repair, or a small item should change color or appearance. It is not a full layer-based design application, and it cannot recover hidden reality that was never visible in the source image.
The working pattern is simple: upload, mark, describe, generate, compare, and download. The quality of the result depends heavily on the selection you draw and the clarity of the local instruction, so the two middle steps deserve most of your attention.
- Open the photo editor and upload a JPG, PNG, or WebP image.
- Choose Freehand and draw around any shape; release to close and fill it, then use Erase or Brush to refine the edge.
- Cover the full object or defect, including connected shadows or loose edges.
- Give every mark one local instruction; add an optional overall requirement only when needed.
- Generate the edit and wait for all marked tasks to finish.
- Compare the result with the original at full size, then download only when the edge and background look natural.
Before you start
Work from the cleanest, highest-resolution source and save an untouched copy. Do not repeatedly edit a compressed screenshot if the camera file is available.
The upload screen accepts JPG, PNG, and WebP files up to 25 MB. Large images are prepared in the browser before generation.
You can explore the editor and load the demo without generating. AI generation requires a registered account; a new account currently receives 5 credits once after registration.
Decide whether you are removing, repairing, or replacing. If several unrelated details need work, treat them as separate marks or separate passes.
Step 1: open the photo editor
Use the editor on the homepage, or open Tools in the main navigation and choose Inpainting AI. The editor runs directly in the homepage, so there is no desktop application or browser extension to install.
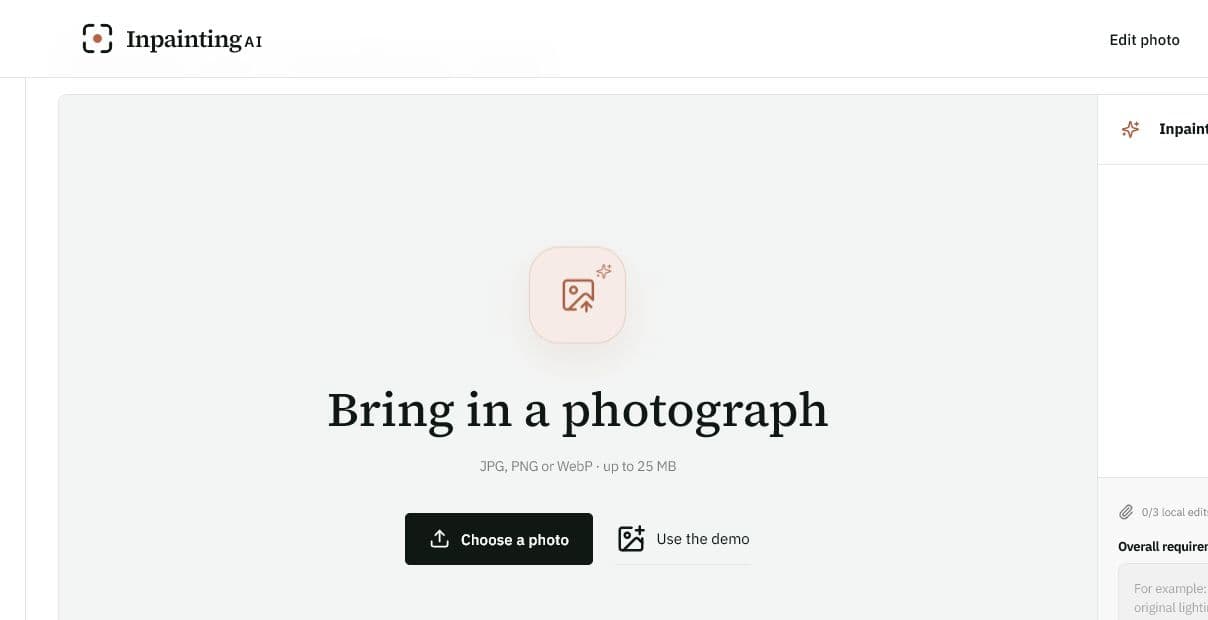
Step 2: upload a photo or load the demo
Choose a photo to browse your device, or select Use the demo if you want to learn the controls without uploading your own image. The upload screen shows the accepted formats and size limit before you select a file.
After the image loads, the canvas appears in the center. Editing tools are on the left, zoom and navigation controls sit below the canvas, and the instruction panel is on the right. Choose another photo replaces the current source and clears the current editing session, so download any result you want to keep first.
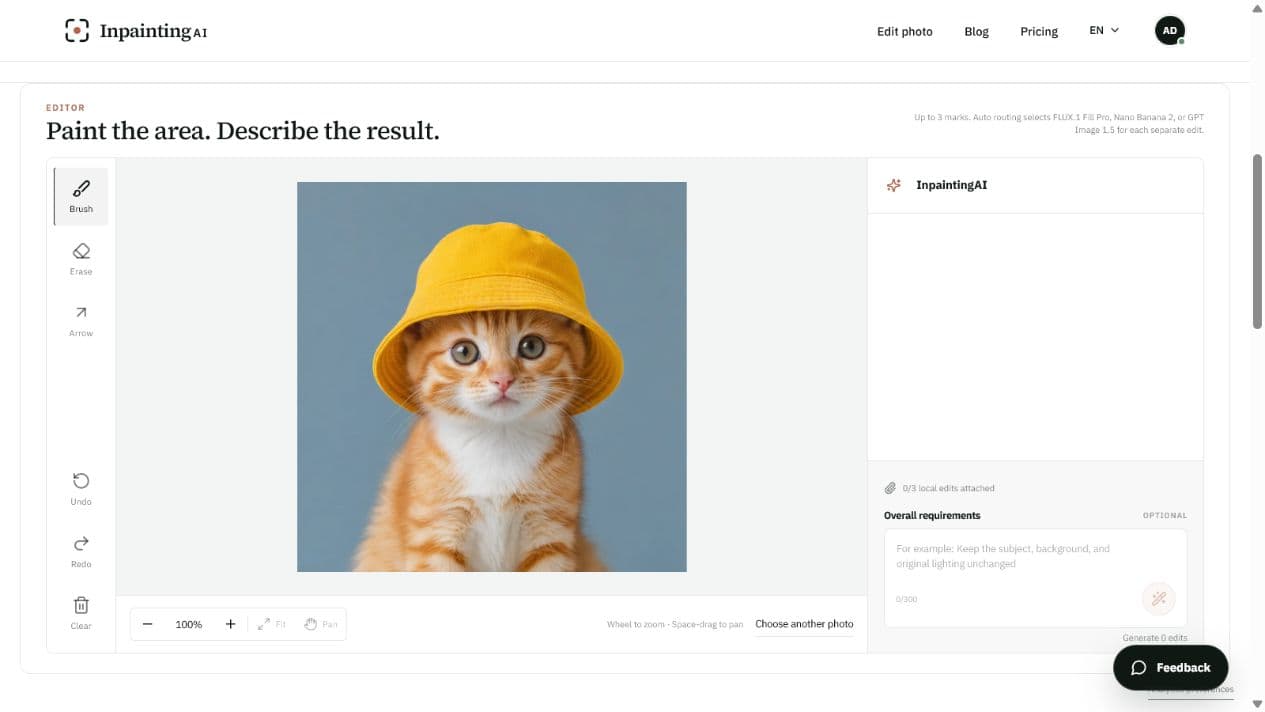
Step 3: mark exactly what should change
The mark tells the model where it is allowed to work. A good instruction cannot rescue a careless selection, so begin with the right tool and refine the boundary before generating.
- Freehand
- Draw around the object in any shape. Release to close the path automatically and fill everything inside the outline.
- Brush
- Paint over an object, blemish, damaged patch, or other area with real width. Cover the whole unwanted detail, not just its center.
- Erase
- Remove excess paint from the selection. Use it when the mask touches a face, product edge, horizon, railing, or any detail that must remain unchanged.
- Undo / Redo / Clear
- Step backward or forward through selection changes. Clear removes all current marks, so use it only when you want to restart the selection.
- Zoom / Fit / Pan
- Zoom in before tracing a small edge. At more than 100%, use Pan or space-drag to move around without painting accidentally.
- Include detached pieces such as hair, straps, reflections, and the object’s contact shadow when they should disappear too.
- Leave a narrow margin around the object, but do not paint across a nearby subject or important straight line.
- Use separate marks for unrelated edits. InpaintingAI supports up to three marks in one run and processes them as separate edits.
- For repeated textures such as bricks, tiles, grass, water, or fences, preserve as many intact pattern lines as possible.
Step 4: describe each mark
A numbered instruction appears beside every mark. Write what should happen inside that marked area, not a description of the entire photograph. The right panel also includes Overall requirements, which applies a shared constraint to the run.
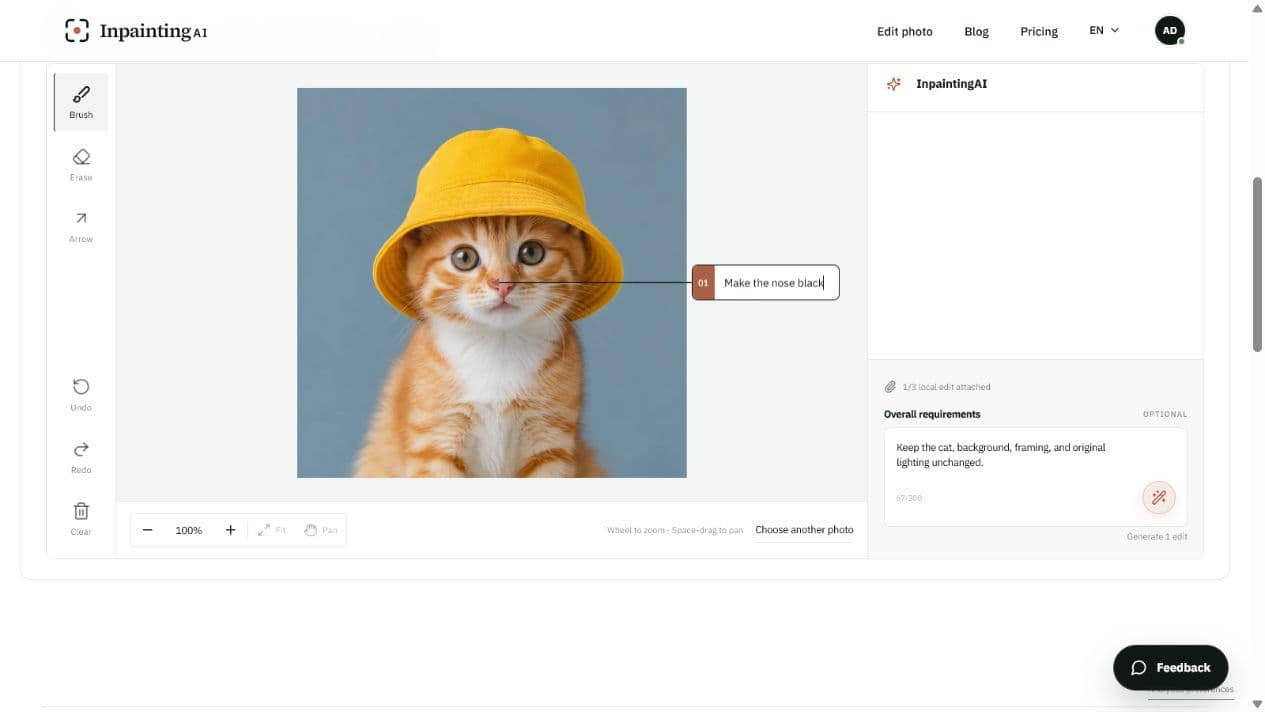
Local instruction
Use one short verb and a concrete result: “Make the hat red,” “repair the torn paper,” or “continue the grey stone pavement.” If you leave a painted-region instruction blank, the editor treats it as a remove-and-fill task and rebuilds the area from its surroundings.
Overall requirements (optional)
Use this field for constraints that should remain true across every mark, such as “Keep the person, framing, background, and original lighting unchanged.” Do not duplicate each local request here. Leaving it empty is often best for a simple removal.
Step 5: generate the edit
The Generate button becomes available after at least one mark exists. Confirm the number shown on the button matches the number of intended edits, then start the run. Do not close the page while a task is processing; use Cancel edit only when you genuinely want to stop it.
New purchases use permanent, one-time credit packs with no renewal or expiry. The server selects the available image model for each separate mark, so you do not need to choose a model manually.
Credits are based on billed output megapixels. One credit equals one billed output MP, each separate output is rounded up to the next whole MP, and multiple marks are processed sequentially as separate calls. Check the account page before a large or multi-mark job if you need predictable credit usage.
Step 6: compare, correct, and download
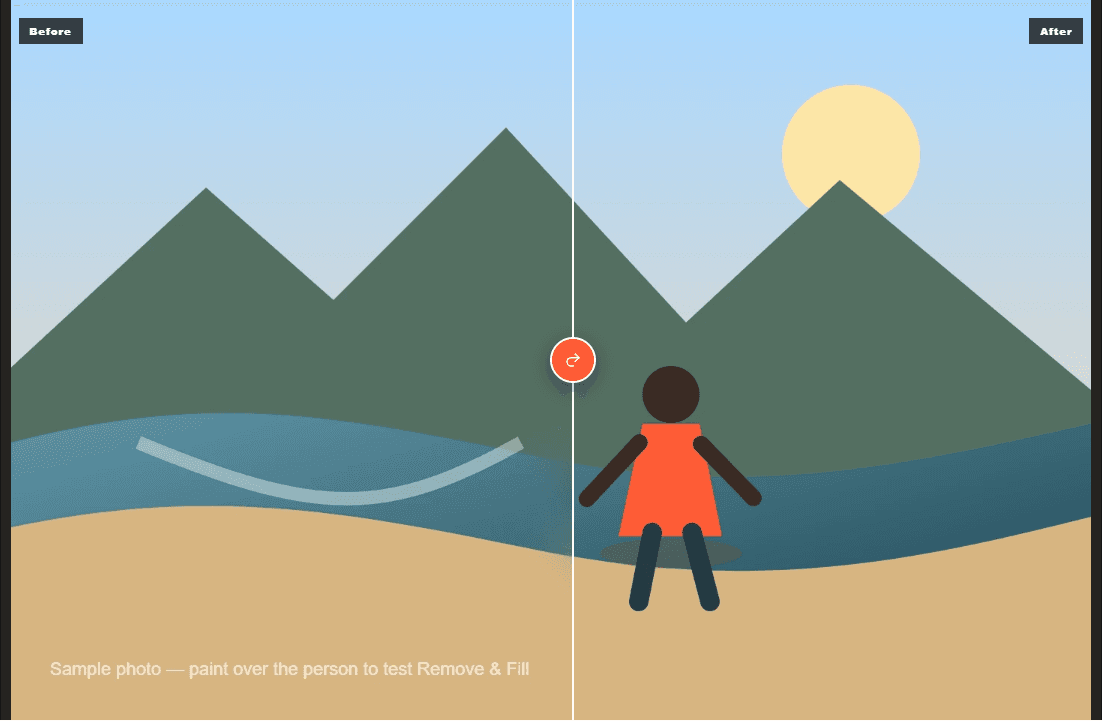
A successful generation appears in the result panel. Drag the before/after control across the edited area rather than looking only at the full image. The object disappearing is not enough; the repaired boundary and surrounding structure must also look believable.
- Edge: No fragments, bright halos, or pieces missing from the subject.
- Structure: Horizons, shelves, walls, rails, limbs, and product edges remain straight and continuous.
- Texture: Grass, fabric, pavement, water, and repeated patterns continue without obvious cloning or smears.
- Light: Brightness, shadow direction, reflections, and color temperature still match the scene.
- Identity and text: Faces, logos, labels, and important wording outside the selection have not changed.
Use Download to save the result. Retry generates another attempt from the current setup, Copy sends the result to the clipboard when the browser allows it, and Edit more uses the result as the next source. Keep the original and compare every additional pass, because small generated changes can accumulate.
Prompt examples you can copy
| Goal | What to mark | Local instruction |
|---|---|---|
| Remove a person | Paint the whole person and connected shadow | Leave blank, or: Remove the person and continue the background naturally |
| Remove an object | Paint the object and any reflection it creates | Remove the object and continue the wooden table |
| Repair damage | Paint only the tear, scratch, or faded patch | Repair the damaged area while preserving the original photograph |
| Change a color | Paint the complete item without touching nearby skin or hair | Make the hat deep red and keep its texture |
| Replace an item | Paint the full item and a small boundary margin | Replace the mug with a clear glass; match the light and perspective |
| Remove text | Paint every letter plus its shadow or outline | Remove the text and rebuild the surface behind it |
Troubleshooting common beginner problems
The Generate button is disabled
Load an image and create at least one Freehand or Brush selection. A prompt by itself is not enough because the model needs a location.
Part of the object remains
Enlarge the mask to include the missed edge, hair, strap, reflection, or shadow. Change the selection before making the prompt longer.
The subject was damaged
Undo and tighten the mask with Erase. Keep a small gap from faces, hands, logos, and hard product edges whenever possible.
The replacement looks pasted on
Ask for matching light, perspective, scale, and material. Make sure the selected area includes enough boundary for a natural blend.
Lines or patterns bend
Use a smaller mask and preserve more intact reference lines. Complex text, grids, and exact logos may need a conventional editor after the AI repair.
The result is attractive but inaccurate
AI inpainting predicts a plausible replacement; it does not reveal what was truly behind an object. Do not use generated repair as documentary evidence.
The upload fails
Confirm the file is JPG, PNG, or WebP and no larger than 25 MB. Try exporting a fresh copy if the file is damaged or uses an unusual color profile.
A job fails or is canceled
Check the activity message and account history before starting the same job repeatedly. Credits are released only when no billable provider output can be confirmed; unknown provider states remain reserved until reconciled.
Privacy and responsible use
Only upload images you have the right to edit. You retain ownership of uploaded photos and generated results, but the service must process the files needed to create the edit. Account storage currently retains the latest original, combined mask preview, and final result privately; intermediate files are temporary. Do not use the editor for unlawful, deceptive, non-consensual, or rights-infringing content.
Read the privacy policyRead acceptable use
Beginner FAQ
Do I need to write a prompt to remove an object?
No. A painted region with an empty local instruction uses remove-and-fill behavior. Add a short background instruction only if the first fill needs more direction.
Can I make several changes at once?
Yes, up to three marks. Each mark has its own instruction and is processed as a separate model call, so multi-mark work can use more credits than a single edit.
Should I use Freehand or Brush?
Use Freehand to draw a closed outline around round or irregular objects, Brush to add painted areas, and Erase to trim excess pixels.
Does InpaintingAI work on mobile?
Yes. The editor stacks on smaller screens and supports pinch zoom and pan. For very fine masks, a larger screen and pointing device can still be easier.
Can AI restore the exact hidden background?
No. It creates a plausible reconstruction from visible context and your instruction. If accuracy matters, use another reference image or a manual compositing workflow.
What should I do before publishing the result?
Inspect it at 100% zoom, confirm people and products are represented honestly, and keep the original file. Disclose material AI edits where the context requires it.
READY TO TRY IT?
Start with one image and one clear local change.
Use the demo first if you want to learn the controls, then repeat the same upload → mark → describe → compare workflow with your own photo.
Open InpaintingAI




